Installation
Obtain and Launch the Installer
macOS
Get the installer “CONFLEX**_***.zip” or “CONFLEX**_***.dmg” (*** will vary depending on the license) from the download site. The installation process varies depending on which one you use.
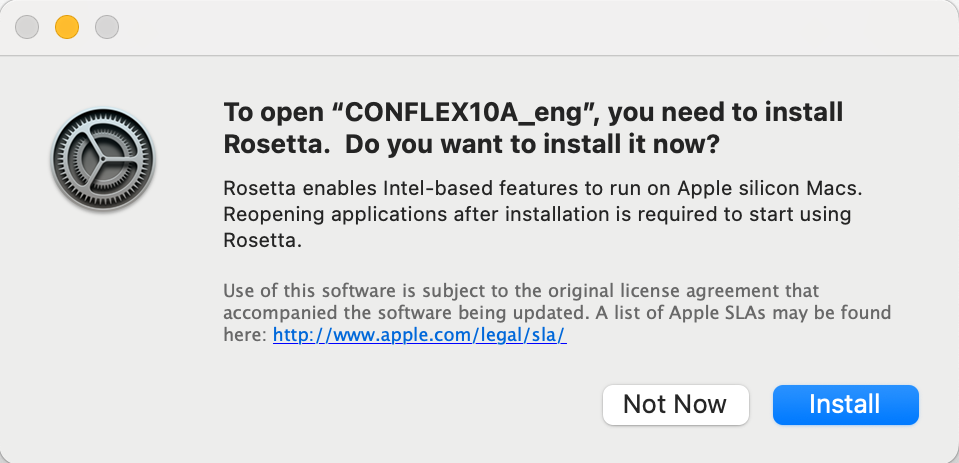
In the former case, extract the zip file and launch the application. Rosetta is only required during installation. If Rosetta is not installed in your environment, the screen on the right will appear when you launch the application.
In the latter case, start the Terminal application, navigate to the location of the downloaded dmg file, execute the following command (installer is “CONFLEX10A_eng.dmg” here),
xattr -c CONFLEX10A_eng.dmg
and then double-click the dmg file.
Windows
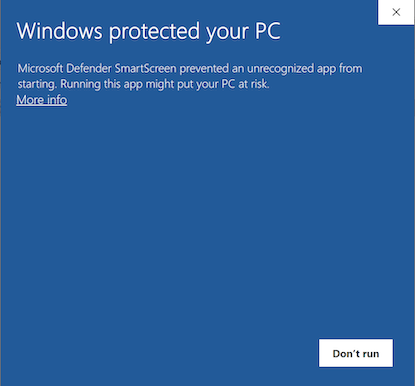
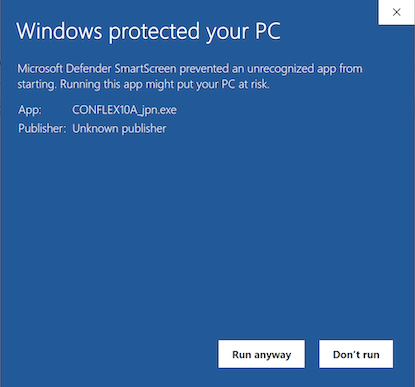
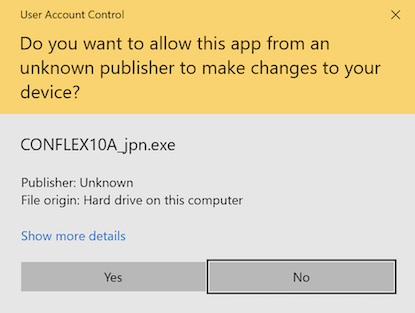
Get the installer “CONFLEX**_***.zip” from the download site (*** will vary depending on the license), unzip it, and run it by [Right-click] → [Run as administrator].
The following screen may appear when executing the program, please follow the steps shown below.
Linux
Get the installer “CONFLEX**_***” from the download site (*** will vary depending on the license). The following example shows how to install “CONFLEX10A_eng”. First, give execute permission to this file as:
chmod +x CONFLEX10A_eng
Then, run this program with administrative privileges and follow the instructions displayed:
sudo ./CONFLEX10A_eng
Installation Procedure
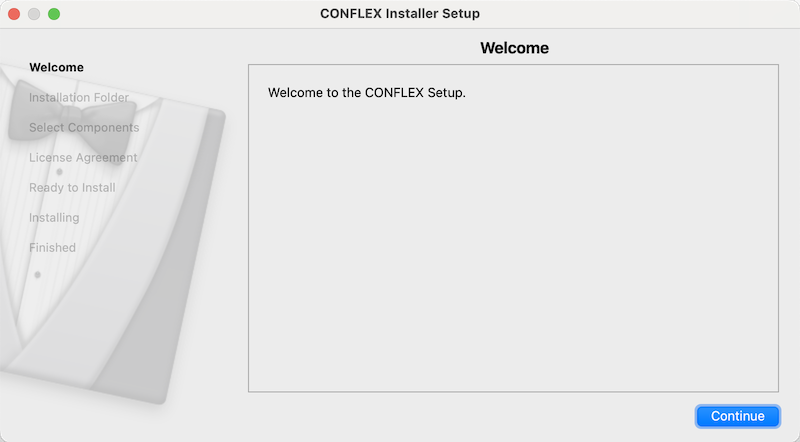
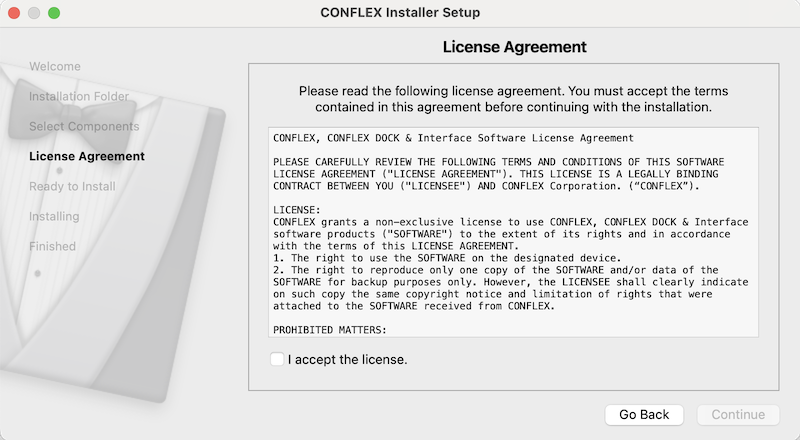
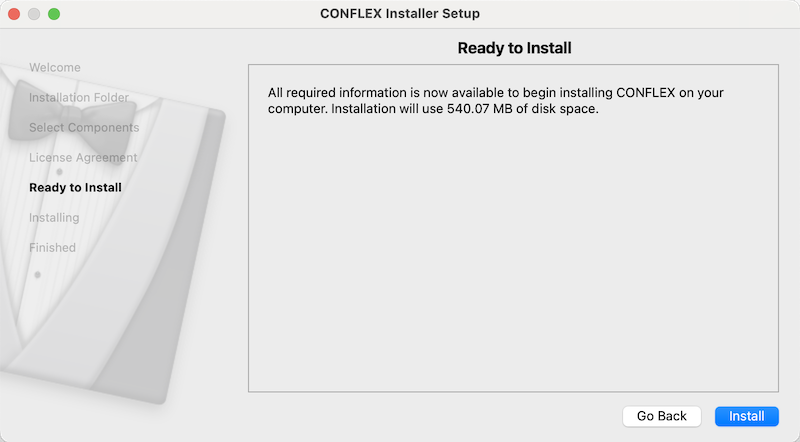
When you start the installer, a dialog box will appear as shown below, follow the instructions to install the software.
The screenshots are for macOS, but the same applies to Windows and Linux.
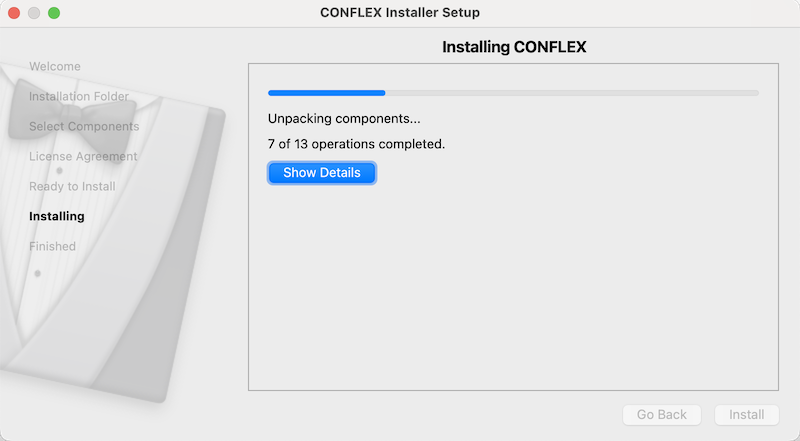
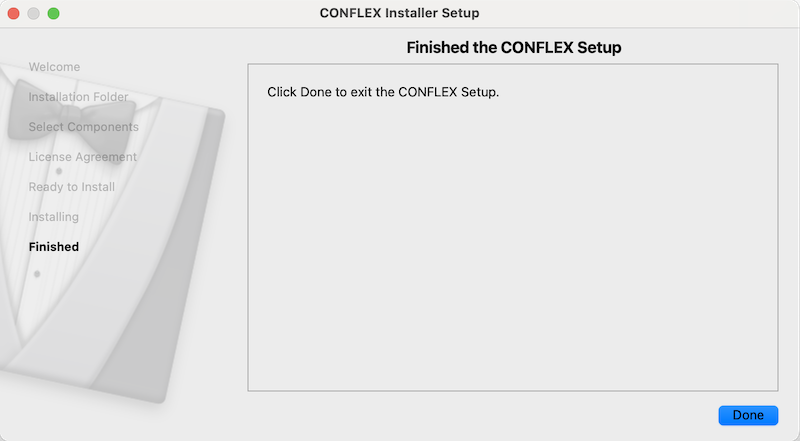

This completes the installation of the files. The files will be installed to the following location:
- macOS
- /Applications/CONFLEX
- Windows
- C:\CONFLEX
- Linux
- /usr/local/conflex
Request License
After the installation is complete, start CONFLEX Interface and apply for a license.
- macOS
- Start CONFLEX in the CONFLEX folder inside the Application folder.
- Windows
- Click the CONFLEX.exe shortcut on the Desktop.
- Linux
-
Start with the following command:
/usr/local/conflex/CONFLEX
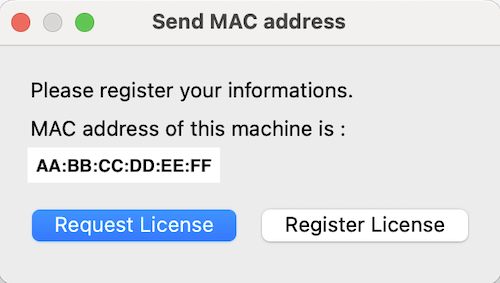
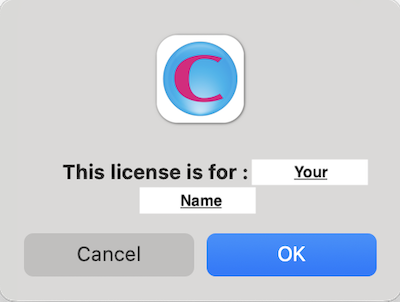
When CONFLEX starts, a dialog box will appear. Click [Request License] on the left side. Your email software will start automatically. Please fill in the following English information and send it to us.
- Your Name :
- Affiliation :
- Address :
- ZIP code :
- Phone No. :
- E-Mail address :
- MAC address : AA:BB:CC:DD:EE:FF
The address is set to info@conflex.co.jp, so there is no need to change it.
If you are sending mail from another machine, please send your MAC address and English information to info@conflex.co.jp.
Activation
We will create a license file (license.dat) based on the information you sent us and send it to you via e-mail. Save the attached license file to a location of your choice, start CONFLEX, click [Register License] on the right side of the above figure, and then specify the file you saved. The file name is fixed to "license.dat", so please do not change it.
Click “OK” in the dialog box that appears, and the activation is complete when you see “License file validated ...” as shown in the right figure.
Click “Show Details...” to display the detailed information of the license file.

Verifying the Installation
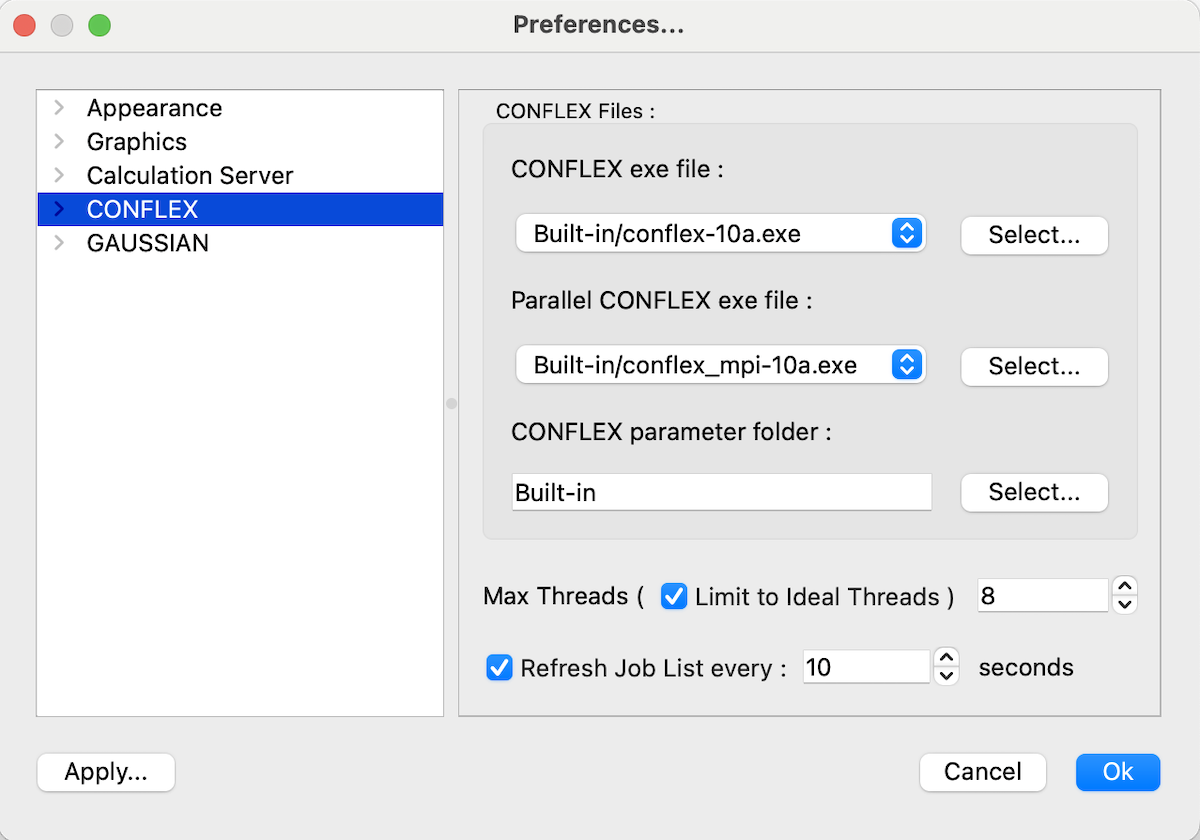
If you have purchased the package “CONFLEX & Interface” or “Parallel CONFLEX & Interface”, go to Edit→Preferences... (CONFLEX→Preferences... in macOS) and select “CONFLEX” on the left side, the included calculation programs will be displayed as shown in the figure.
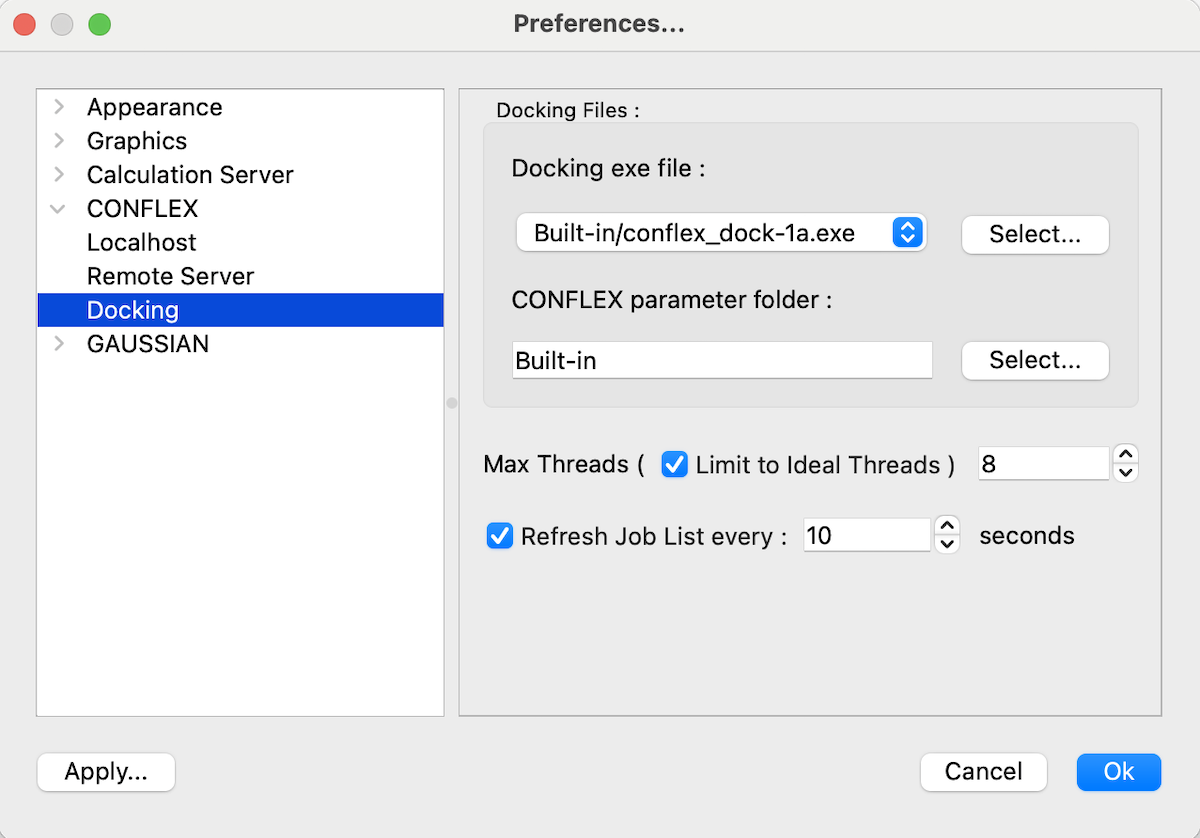
If you have purchased the package “CONFLEX DOCK”, select “Docking” from “CONFLEX” pull-down menu on the left, and the included calculation program will be displayed as shown in the figure.
Parallel Calculation
Additional settings for the Windows version
The following is the procedure for setting up the environment required to use the Windows version of Parallel CONFLEX.
The following explanation assumes that Parallel CONFLEX has been installed under C: drive using the installer. Please note that some settings require administrator privileges.
Start the Command Prompt with administrator privileges. Right-click on the “Windows” symbol and select “Command Prompt (Admin)”.
At the command prompt, execute the following command:
C:\CONFLEX\bin\hydra_service.exe -install
By doing this once, even if you shut down the machine, hydra_service.exe will automatically start up again the next time you boot up. You can check whether it is running or not by execute the following command:
tasklist /fi “imagename eq hydra_service.exe”
When you uninstall CONFLEX, run the following command with administrative privileges to stop hydra_service.exe before uninstallation.
C:\CONFLEX\bin\hydra_service.exe -remove
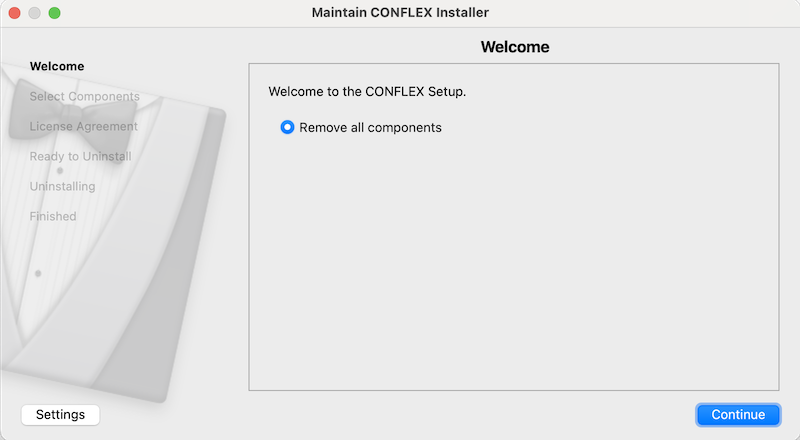
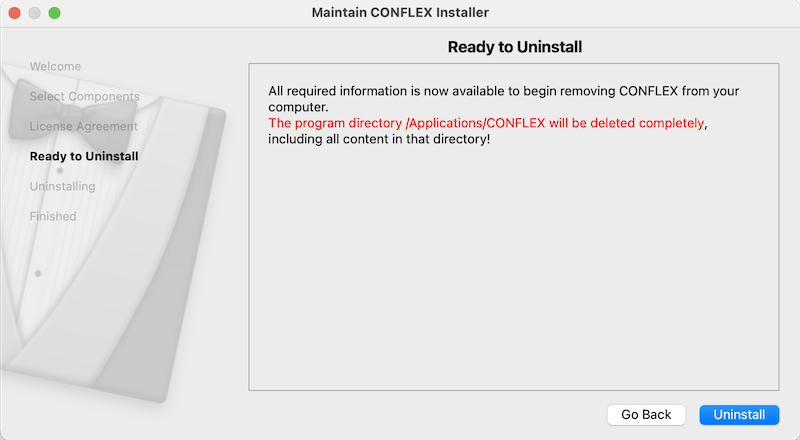
Uninstall
When upgrading or revising CONFLEX, or transferring to another machine, it is necessary to uninstall the already installed CONFLEX.
Uninstallation is performed using the maintenance tool provided with CONFLEX.
- macOS
- Start the “maintenancetool” in the CONFLEX folder inside Applications folder.
- Windows
- Start “maintenancetool.exe” in the C:\CONFLEX folder, or select “Uninstall_CONFLEX” from the CONFLEX folder in the list of applications.
- Linux
-
If the program is installed under “/usr/local”, run the following command to start the maintenance tool with administrative privileges.
sudo /usr/local/conflex/maintenancetool
When the maintenance tool starts, follow the on-screen instructions as shown below.
Please note that all data in the folder where CONFLEX was installed will be deleted by this uninstallation operation.
If you wish to move the software to another machine, you will need to obtain an uninstallation certificate separately. Please contact to
info@conflex.co.jp.